티스토리 뷰
Socket.IO의 공식 사이트 시작 글인 채팅 프로그램에 대해 분석합니다.
Get started | Socket.IO
Get started In this guide we’ll create a basic chat application. It requires almost no basic prior knowledge of Node.JS or Socket.IO, so it’s ideal for users of all knowledge levels. Introduction# Writing a chat application with popular web application
socket.io
Node.js v16.13.1
npm v8.3.0을 기준으로 작성된 글입니다.
버추얼 박스 우분투 가상 머신에서 진행합니다.
Node.js 설치는 아래 글을 참고하시면 됩니다.
[Node.js] 설치하기
여러 설치 방법 중 NVM을 이용한 Node.js 설치 방법을 다룹니다. Ubuntu 20.04을 사용합니다. 저는 아래 글에서 생성한 AWS EC2 인스턴스에 VS 코드를 연결하여 진행하겠습니다. AWS EC2 인스턴스 생성하기
munak.tistory.com
아래 글에 이어서 진행합니다.
[Node.js] express 웹 서버 구축 하기
Node.js에서 많이 쓰이는 express 모듈을 사용해 간단한 웹 서버를 열어보겠습니다. Node.js v16.13.1 npm v8.3.0을 기준으로 작성된 글입니다. 버추얼 박스 우분투 가상머신에서 진행합니다. 버추얼 박스
munak.tistory.com
Express는 Node.js를 위한 웹 프레임워크입니다.
이를 사용해서 특별한 지식 없이도 저희는 웹서버를 구축할 수 있었습니다.
이와 같이 Socket.IO를 사용하면 이벤트 기반의 서버-웹 클라이언트 간
실시간 양방향 통신을 쉽게 구현할 수 있습니다.
Socket.IO
Reliable Rest assured! In case the WebSocket connection is not possible, it will fall back to HTTP long-polling. And if the connection is lost, the client will automatically try to reconnect.
socket.io
이번 글에서는 위 공식 사이트 Get Started에 나온 채팅 프로그램을 실행/분석해 보겠습니다.
먼저 프로젝트를 진행할 폴더를 하나 만들어 줍니다.

이곳에 필요한 모듈들과 코드들을 저장할 겁니다.
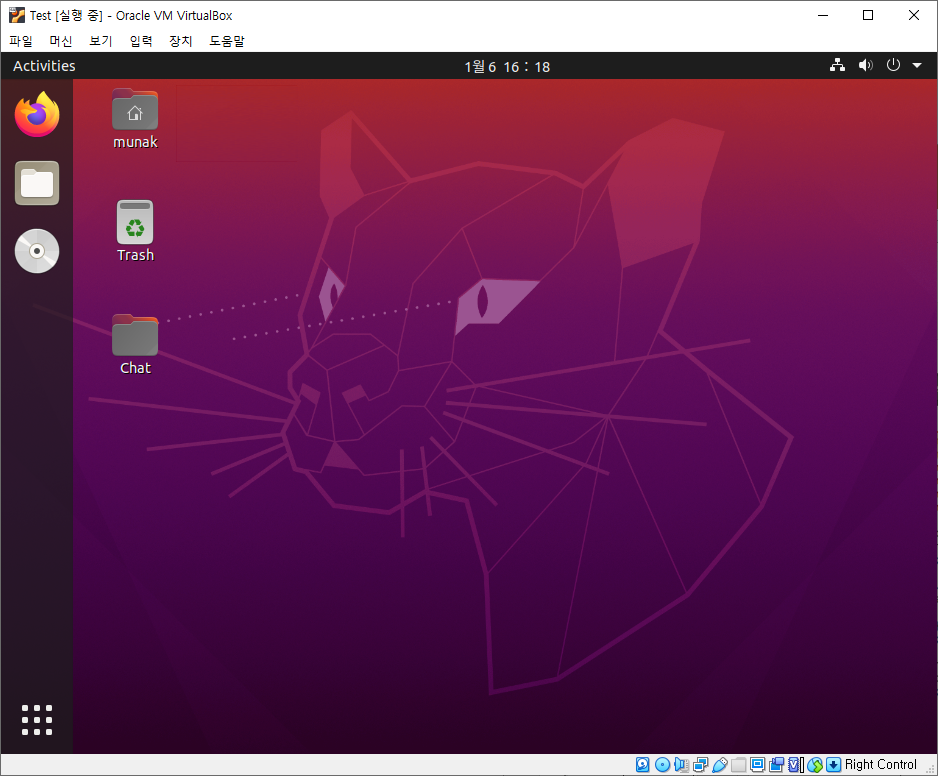
해당 폴더에서 터미널을 열어 Express와 Socket.IO를 설치합니다.
아래 명령어를 터미널에 입력합니다.
$ npm install express
$ npm install socket.io

그리고 자바스크립트 파일을 만들어 아래 코드를 입력해 줍니다.
저는 텍스트 편집기인 gedit를 이용해 입력해 보겠습니다.
const express = require('express');
const app = express();
const http = require('http');
const server = http.createServer(app);
const { Server } = require("socket.io");
const io = new Server(server);

app.get('/', (req, res) => {
  res.sendFile(__dirname + '/index.html');
});

io.on('connection', (socket) => {
  socket.on('chat message', (msg) => {
    io.emit('chat message', msg);
  });
});

server.listen(3000, () => {
  console.log('listening on *:3000');
});
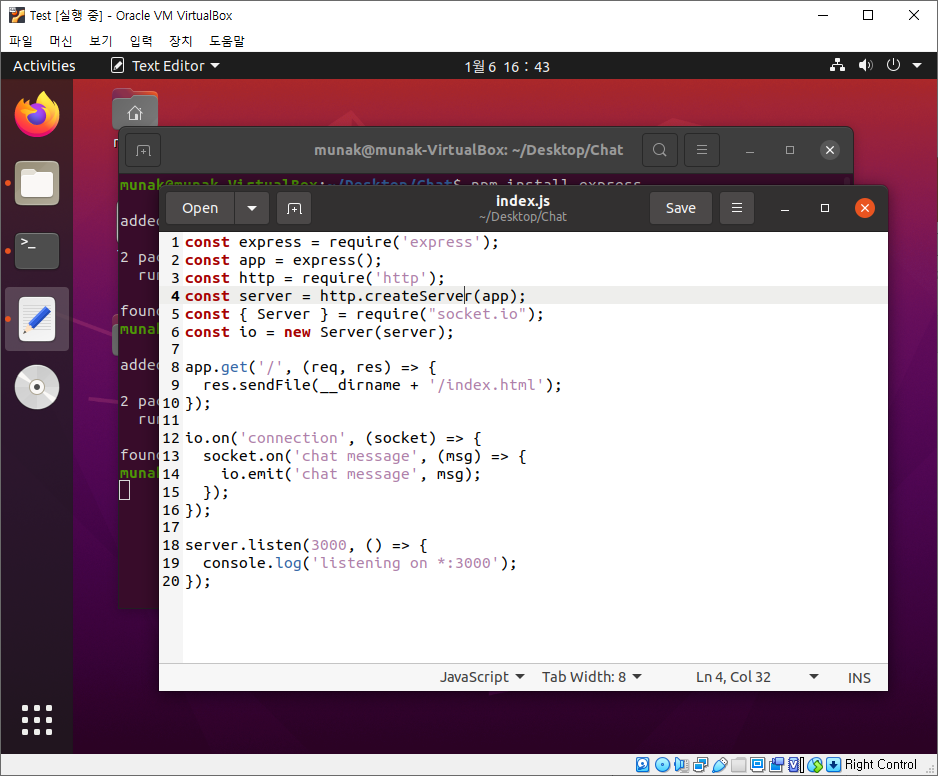
이 파일은 웹서버를 생성하고, 접속 경로나 클라이언트에서 보낸 요청을 어떻게 처리하는지 정의하고 있습니다.
즉 서버 역할을 하고 있는 것이죠.
그럼 코드를 바탕으로 socket.io를 통해
어떤 방식으로 양방향 통신이 이루어지는지 좀 더 살펴보겠습니다.
const express = require('express');
const app = express();
위 문장은 require메서드로 Express 모듈을 적재하고
Express 애플리케이션 객체(app)를 생성하는 문장입니다.
Express basic routing
Basic routing Routing refers to determining how an application responds to a client request to a particular endpoint, which is a URI (or path) and a specific HTTP request method (GET, POST, and so on). Each route can have one or more handler functions, whi
expressjs.com
위 링크에서 보면 객체 app는 HTTP 요청 라우팅, 미들웨어 구성, HTML 렌더링, 템플릿 엔진 등록
및 애플리케이션 설정 수정을 위한 메서드가 정의되어 있다고 합니다.
Express에서 서버 처리와 관련된 여러 메서드를 제공하고 있다는 것을 알 수 있습니다.
const http = require('http');
const server = http.createServer(app);
const { Server } = require("socket.io");
const io = new Server(server);
Express를 사용하여 Http 서버를 생성하고
생성된 Http 서버를 socket.io server로 upgrade 하는 문장입니다.
이제 io객체를 통해서 socket.io에 정의된 여러 통신 메서드를 사용할 수 있습니다.
app.get('/', (req, res) => {
  res.sendFile(__dirname + '/index.html');
});
root url에 대한 라우트를 정의하는 문장입니다.
저는 로컬 서버를 사용할 거기 때문에
localhost:3000으로 클라이언트가 접속하면
index.html을 전송한다!로 해석할 수 있습니다.
io.on('connection', (socket) => {
  socket.on('chat message', (msg) => {
    io.emit('chat message', msg);
  });
});
앞서 Socket.IO를 소개할 때 이벤트 기반의 양방향 통신을 지원한다고 했었습니다.
클라이언트가 Socket.IO로 만든 서버에 접속하면 connection이벤트가 발생하게 되는데요.
즉, 위 함수는 접속된 클라이언트들이 보내는 이벤트 핸들러를 정의한 것입니다.
그럼 클라이언트들이 보내는 이벤트를 어떻게 감지할까요?
공식 사이트에서는 여러 방법이 있다고 소개하고 있습니다.
Listening to events | Socket.IO
There are several ways to handle events that are transmitted between the server and the client.
socket.io
그중 on은 새로운 이벤트 리스너의 정의하여 추가하는 메서드입니다.
위 코드에서는 'chat message'라는 이름의 이벤트 리스너를 추가한 것이 되겠네요.
io.emit('chat message', msg);
그럼 그 안쪽에는 해당 이벤트가 발생했을 때의 처리를 정의해주면 됩니다.
이 코드에서는 emit를 메서드를 사용해
접속된 모든 클라이언트에게 전달받은 메시지를 전송하도록 했습니다.
server.listen(3000, () => {
  console.log('listening on *:3000');
});
마지막 함수는 3000번 포트를 사용해 서버를 열고
서버가 가동하고 있다면 해당 문자열을 콘솔에 출력하는 함수입니다.
이를 통해 서버가 작동하는지 확인 유무를 알 수 있습니다.
정리하면, Express로 3000번 포트의 웹서버를 열고, Socket.IO로 확장시켜
접속하는 클라이언트들에게 index.html 문서를 보내주며,
chat message 이벤트가 발생한다면, 매개 변수로 들어온 msg를
접속한 모든 클라이언트들에게 전송한다는 내용을 정의하고 있다고 할 수 있겠네요.
다음은 클라이언트에게 보내줄 index.html의 코드를 작성해 보겠습니다.
아래 코드를 입력합니다.
<!DOCTYPE html>
<html>

<head>
    <title>Socket.IO chat</title>
    <style>
        body {
            margin: 0;
            padding-bottom: 3rem;
            font-family: -apple-system, BlinkMacSystemFont, "Segoe UI", Roboto, Helvetica, Arial, sans-serif;
        }

        #form {
            background: rgba(0, 0, 0, 0.15);
            padding: 0.25rem;
            position: fixed;
            bottom: 0;
            left: 0;
            right: 0;
            display: flex;
            height: 3rem;
            box-sizing: border-box;
            backdrop-filter: blur(10px);
        }

        #input {
            border: none;
            padding: 0 1rem;
            flex-grow: 1;
            border-radius: 2rem;
            margin: 0.25rem;
        }

        #input:focus {
            outline: none;
        }

        #form>button {
            background: #333;
            border: none;
            padding: 0 1rem;
            margin: 0.25rem;
            border-radius: 3px;
            outline: none;
            color: #fff;
        }

        #messages {
            list-style-type: none;
            margin: 0;
            padding: 0;
        }

        #messages>li {
            padding: 0.5rem 1rem;
        }

        #messages>li:nth-child(odd) {
            background: #efefef;
        }
    </style>
</head>

<body>
    <ul id="messages"></ul>
    <form id="form" action="">
        <input id="input" autocomplete="off" /><button>Send</button>
    </form>

    <script src="/socket.io/socket.io.js"></script>
    <script>
        var socket = io();

        var messages = document.getElementById('messages');
        var form = document.getElementById('form');
        var input = document.getElementById('input');

        form.addEventListener('submit', function (e) {
            e.preventDefault();
            if (input.value) {
                socket.emit('chat message', input.value);
                input.value = '';
            }
        });

        socket.on('chat message', function (msg) {
            var item = document.createElement('li');
            item.textContent = msg;
            messages.appendChild(item);
            window.scrollTo(0, document.body.scrollHeight);
        });
    </script>

</body>

</html>
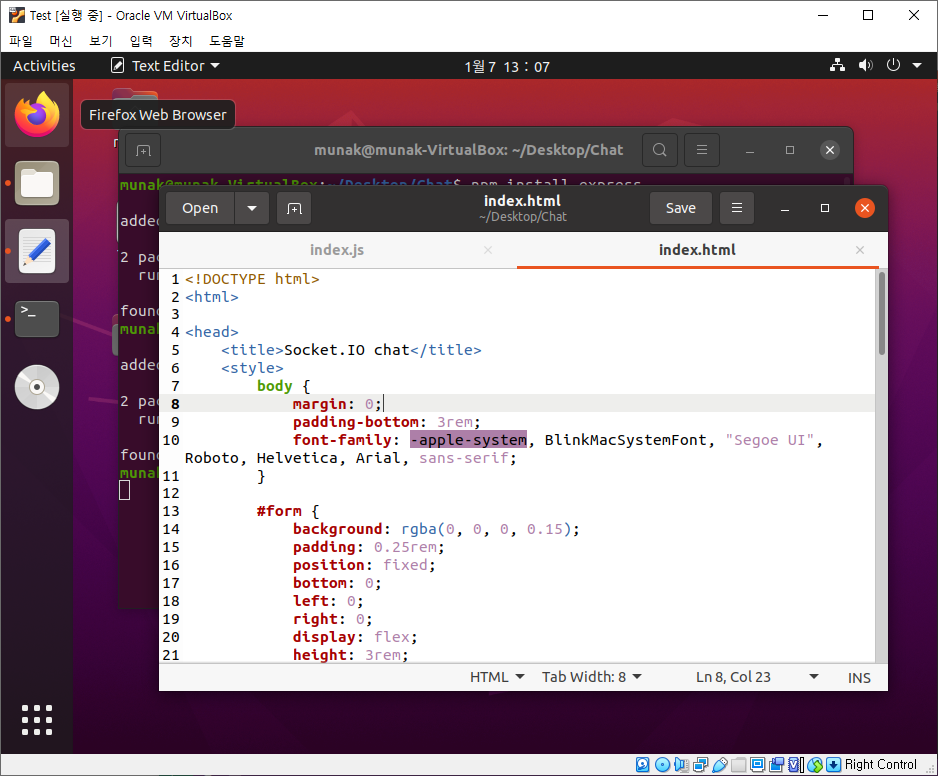
사용자가 메시지를 입력하고 완료 버튼을 누르면
chat message 이벤트를 발생시키고, chat message 이벤트를 감지하면
태그 요소를 추가시켜 화면에 메시지가 나타나도록 하는 내용입니다.
자바 스크립트 부분을 자세히 보겠습니다.
먼저 Socket.IO 모듈을 적재하고 객체를 선언합니다.
HTML요소들도 변수로 저장하여 사용에 용이하도록 합니다.
    <script src="/socket.io/socket.io.js"></script>
    <script>
        var socket = io();

        var messages = document.getElementById('messages');
        var form = document.getElementById('form');
        var input = document.getElementById('input');
그리고 완료 버튼에 대한 액션 리스터를 정의합니다.
사용자가 메시지를 입력하고 버튼을 누르면,
emit 메서드로 서버로 chat messge 이벤트를 보내게 됩니다.
이때 작성한 메시지 input.value도 같이 전달되고 입력창은 비워집니다.
        form.addEventListener('submit', function (e) {
            e.preventDefault();
            if (input.value) {
                socket.emit('chat message', input.value);
                input.value = '';
            }
        });
그럼 앞서 살펴보았던 서버의 액션 리스너가 이를 캐치하고
접속된 모든 클라이언트에게 chat message 이벤트를 emit 하게 됩니다.
그럼 클라이언트로 전달된 이벤트를 처리할 부분이 마지막이 되겠네요.
// 서버코드
io.on('connection', (socket) => {
  socket.on('chat message', (msg) => {
    io.emit('chat message', msg);
  });
});

클라이언트에서 chat messge 이벤트가 감지되면
매개변수로 받은 msg(메시지)를 담은 li요소를 생성하여 추가하고
스크롤을 내려 화면에 채팅창에 가장 최근 메시지가 나타날 수 있게 합니다.
        socket.on('chat message', function (msg) {
            var item = document.createElement('li');
            item.textContent = msg;
            messages.appendChild(item);
            window.scrollTo(0, document.body.scrollHeight);
        });
    </script>
그럼 웹서버를 실행시켜 보겠습니다.
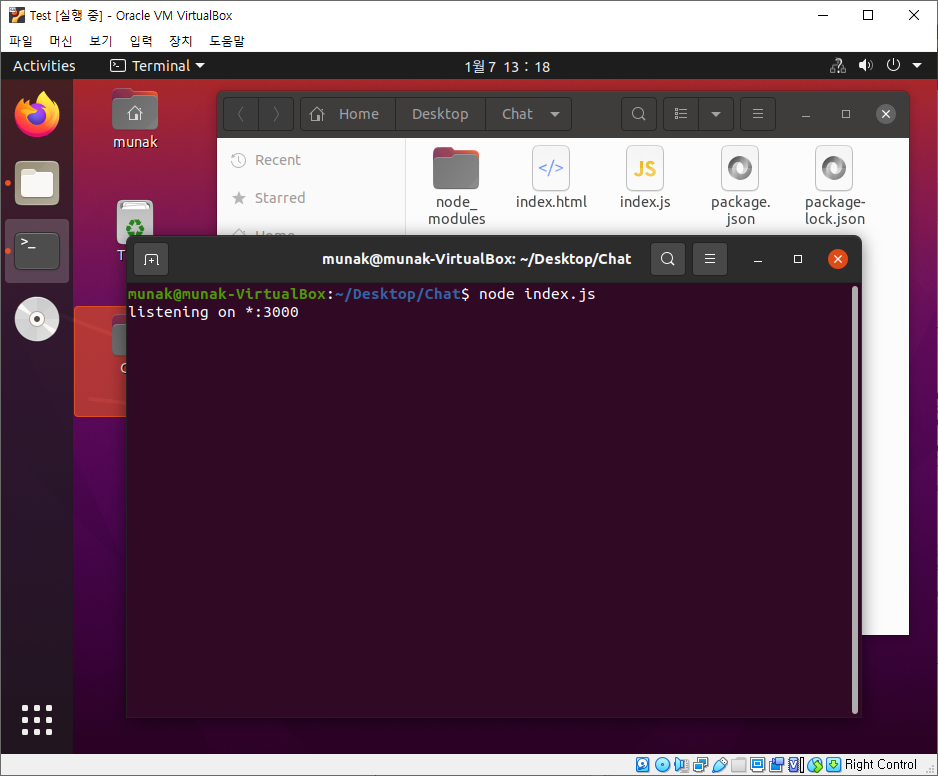
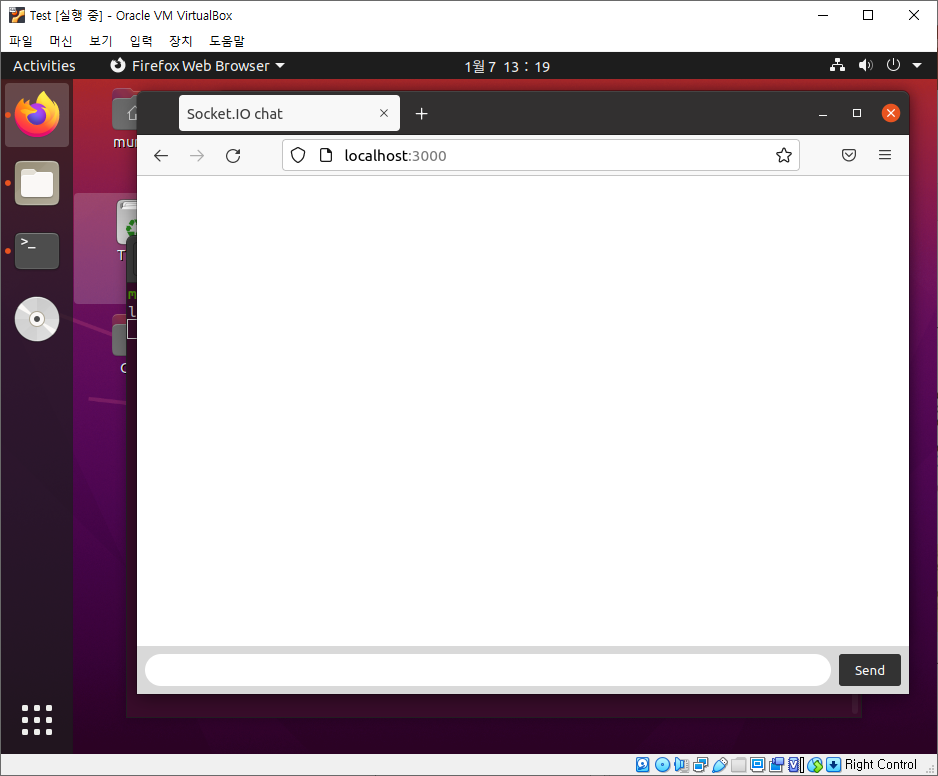
그리고 Firefox를 이용해 http://localhost:3000/으로 접속해 줍니다.
잘 접속이 되며 채팅창이 나타나는 것을 볼 수 있습니다.
브라우저를 여러 개 켜 채팅을 진행해 보았습니다.
실시간으로 잘 작동하는 것을 볼 수 있습니다.
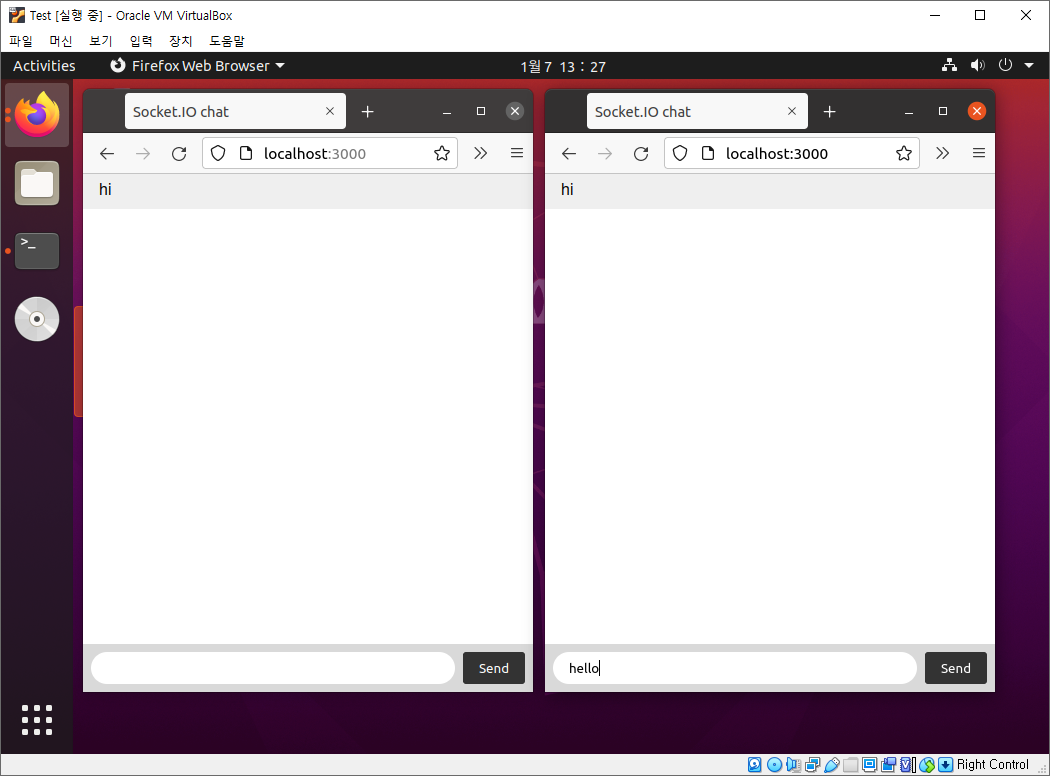

모든 클라이언트들에게 받은 메시지를 전달하는
간단한 채팅 프로그램이었습니다.
감사합니다.
공부한 내용을 복습/기록하기 위해 작성한 글이므로 내용에 오류가 있을 수 있습니다.
'JS | Node.js' 카테고리의 다른 글
| [Node.js] npm과 package.json (0) | 2023.11.03 |
|---|---|
| [Node.js] MySQL 연결하기 + RowDataPacket 데이터 사용하기 (0) | 2022.02.07 |
| [Node.js] Express 웹 서버 구축 하기 (0) | 2022.01.04 |
| [JS] 네이버 지도 API 클라이언트 아이디 발급 받기 (0) | 2022.01.03 |
| [Node.js] 웹 서버 구축 후 파일 업로드 기능 구현하기 (0) | 2021.12.31 |
